Wings 3D Development Forum

Full Version: difficulty to get a clean geometry
You're currently viewing a stripped down version of our content. View the full version with proper formatting.
Hello,

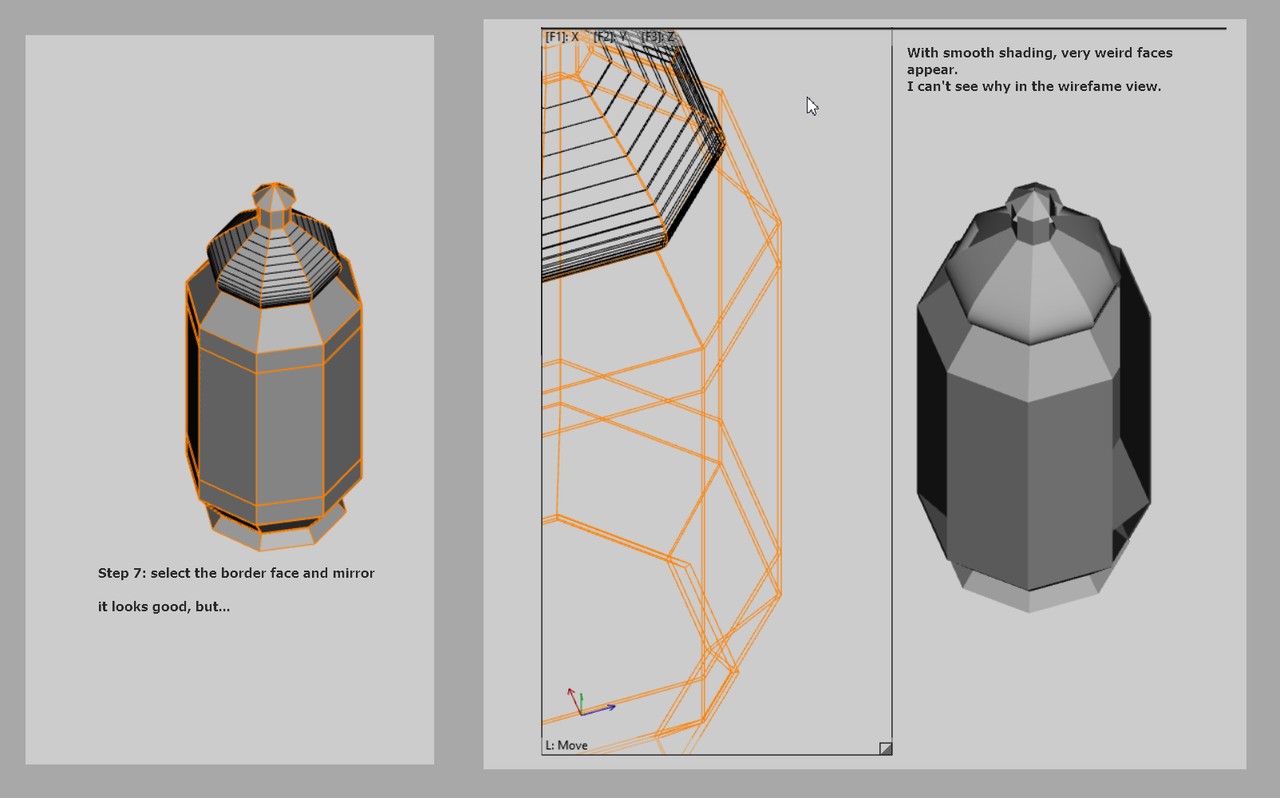
I am trying to build a lamp model, and I am facing difficulties to get a clean geometry.

I tried different way to build my model and read many useful information in this forum, but I always end with a weird behavior.

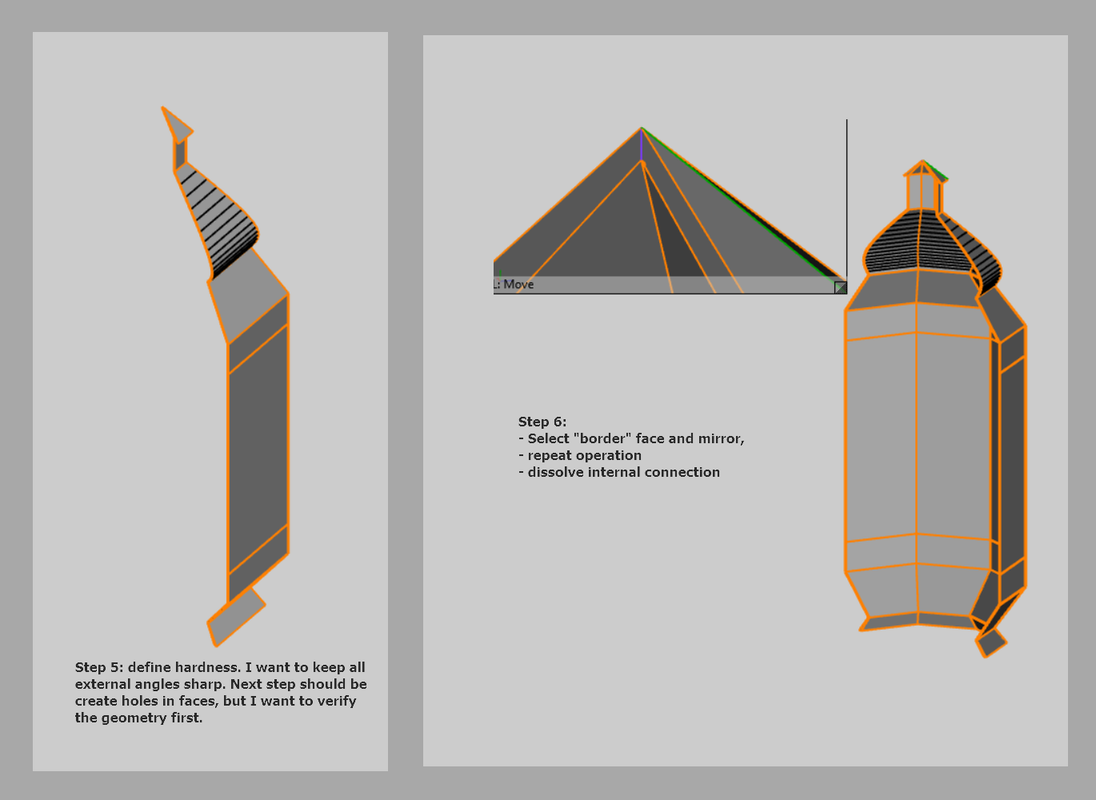
here what I have done so far:


It is not the final model, but before creating holes and bumps of various shapes on the face I would like to get a clean model.

Please, can someone tell me what is occurring on my model and why?
Hi pascalchap
Your file contains only one slice of the main object, so I can't see the problem in your mesh. But, I have some idea about the problem origin. You used the Mirror command to create the entire loop of the object.
Depending on how did you use it you can have some issues on the mesh. It can get some overlapping faces; the mesh can stay open;...;

For details about what happen in these cases take a look on this other thread (same problem as your): help - radial mirror inner faces (the are illustrations)


There are some ways to create the whole object from its slice, but the safest one is by duplicating it (in this case, seven times); select these seven; rotate them 45 degrees by picking the reference axis (in this case the one on the top); deselect one (CTRL+LMB); repeating the rotate command with SHIFT+D; then deselect one and repeat until the last one.
Now, with all slices in the right place; we select all of them and use Weld command. Just pay attention that Weld uses a distance tolerance of 0.001 by default and sometimes it can weld undesired parts of our object. Just undo and access the command with the RMB to change that value.

I attached back your project after I apply the method above to the section you shared and the final shape is OK. It also includes my version in case you want to take a closer look.


Just an observation...
Since your desired object will still be a cylindrical shape, why did you sliced it and made all those procedures?
If the idea was to try adjust the thickness, then you could save a lot of time just using Intrude and make the fine adjusts after.

I used a cylinder to reproduce the object using the section you shared to create the same silhouette. Then applied the Intrude setting a thickness of 0.02 (which was around the one you used).
Although it was not necessary, I sliced it to show you how the section is kept constant (most the time) and then executed that process I commented above to rebuild it.

[Image: loop-cut-section.png]
Thank you Micheus,

I didn't realize that the intrude command works like inset but for the complete object.

I read the post 'help - radial mirror inner faces' before posting my question. To avoid the trouble explained in the post, I "dissolved" the edge linking the external and internal faces at the top of the lamp before mirroring the half lamp (shown in step 6). So there was only one face selected before mirroring and I though it will be enough to build a correct model.

To your question why I chose to build only one face rather the complete object, I must say that it is because I am not sure of the complete process I will use:

This model should be included in a Povray scene ( Yes, I still use PovRay), and I was, at the origin, thinking to export only one face, and build the complete lamp inside povray, to limit the number of faces to load.
But, as I said, I want to add holes and bumps to the model, so I think I will have to smooth the model, and when I do this with the slice, I get bad results, so I tried to rebuild the complete object, and forget why I was working on a single slice.

Following this discussion, I think I will continue with the intruded cylinder, and extract a slice at the end, if it is useful.

Thank you for the answer.
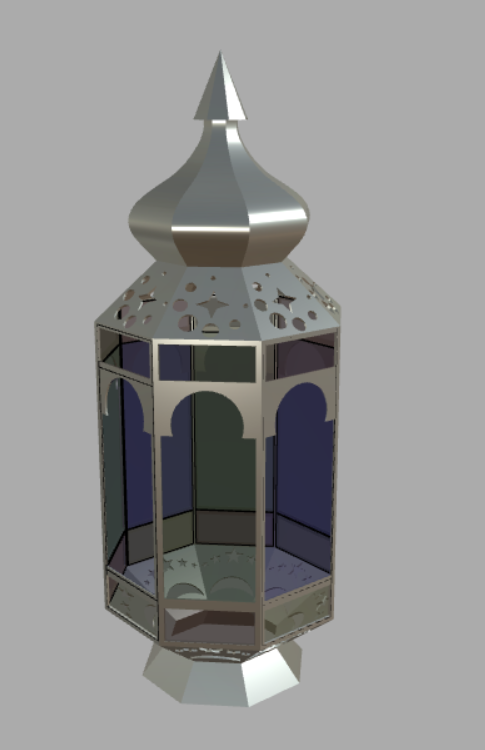
Here is the result, I will work on normal and textures with PovRay.


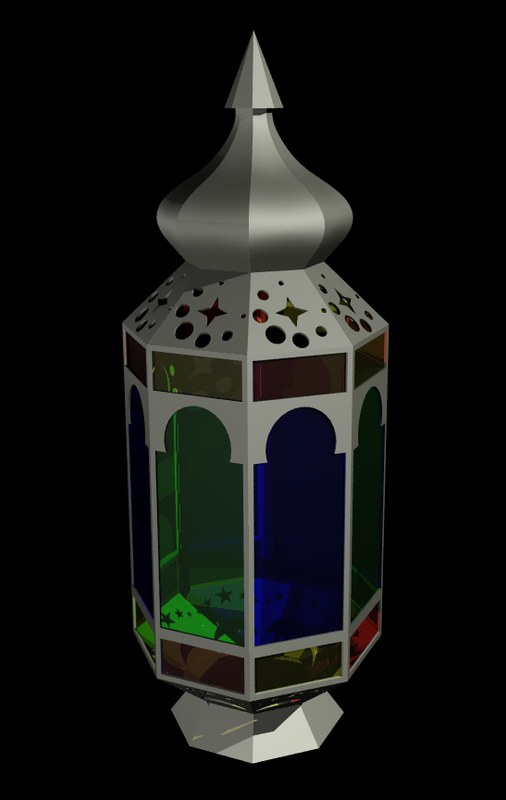
And the export in Pov, withh some change in light.


Thanks
It looks beautiful.

When I was using POV-Ray, sometimes I used its own material settings available in the includes (mainly metals). Then I named the material in accord with those, checked the box "Exclude Material Definition" in material dialog and after export the .pov file I edited it in POV-Ray to add those include files.
For the next steps, I will insert this version in my complete scene. Here is the result with textures and materials in PovRay.

Good tip Smile